2
2Magic-TryOn图片换装、视频换装教程
bug反馈可以加入科哥专属群交流!

需要参考官方使用文档:
- https://github.com/vivoCameraResearch/Magic-TryOn
- 图文版本链接:https://kege-aigc.feishu.cn/docx/Lso4da41eoXOQpxxinlcv9nVnCc
使用方式三种:需要打开jupyterlab进入终端执行:
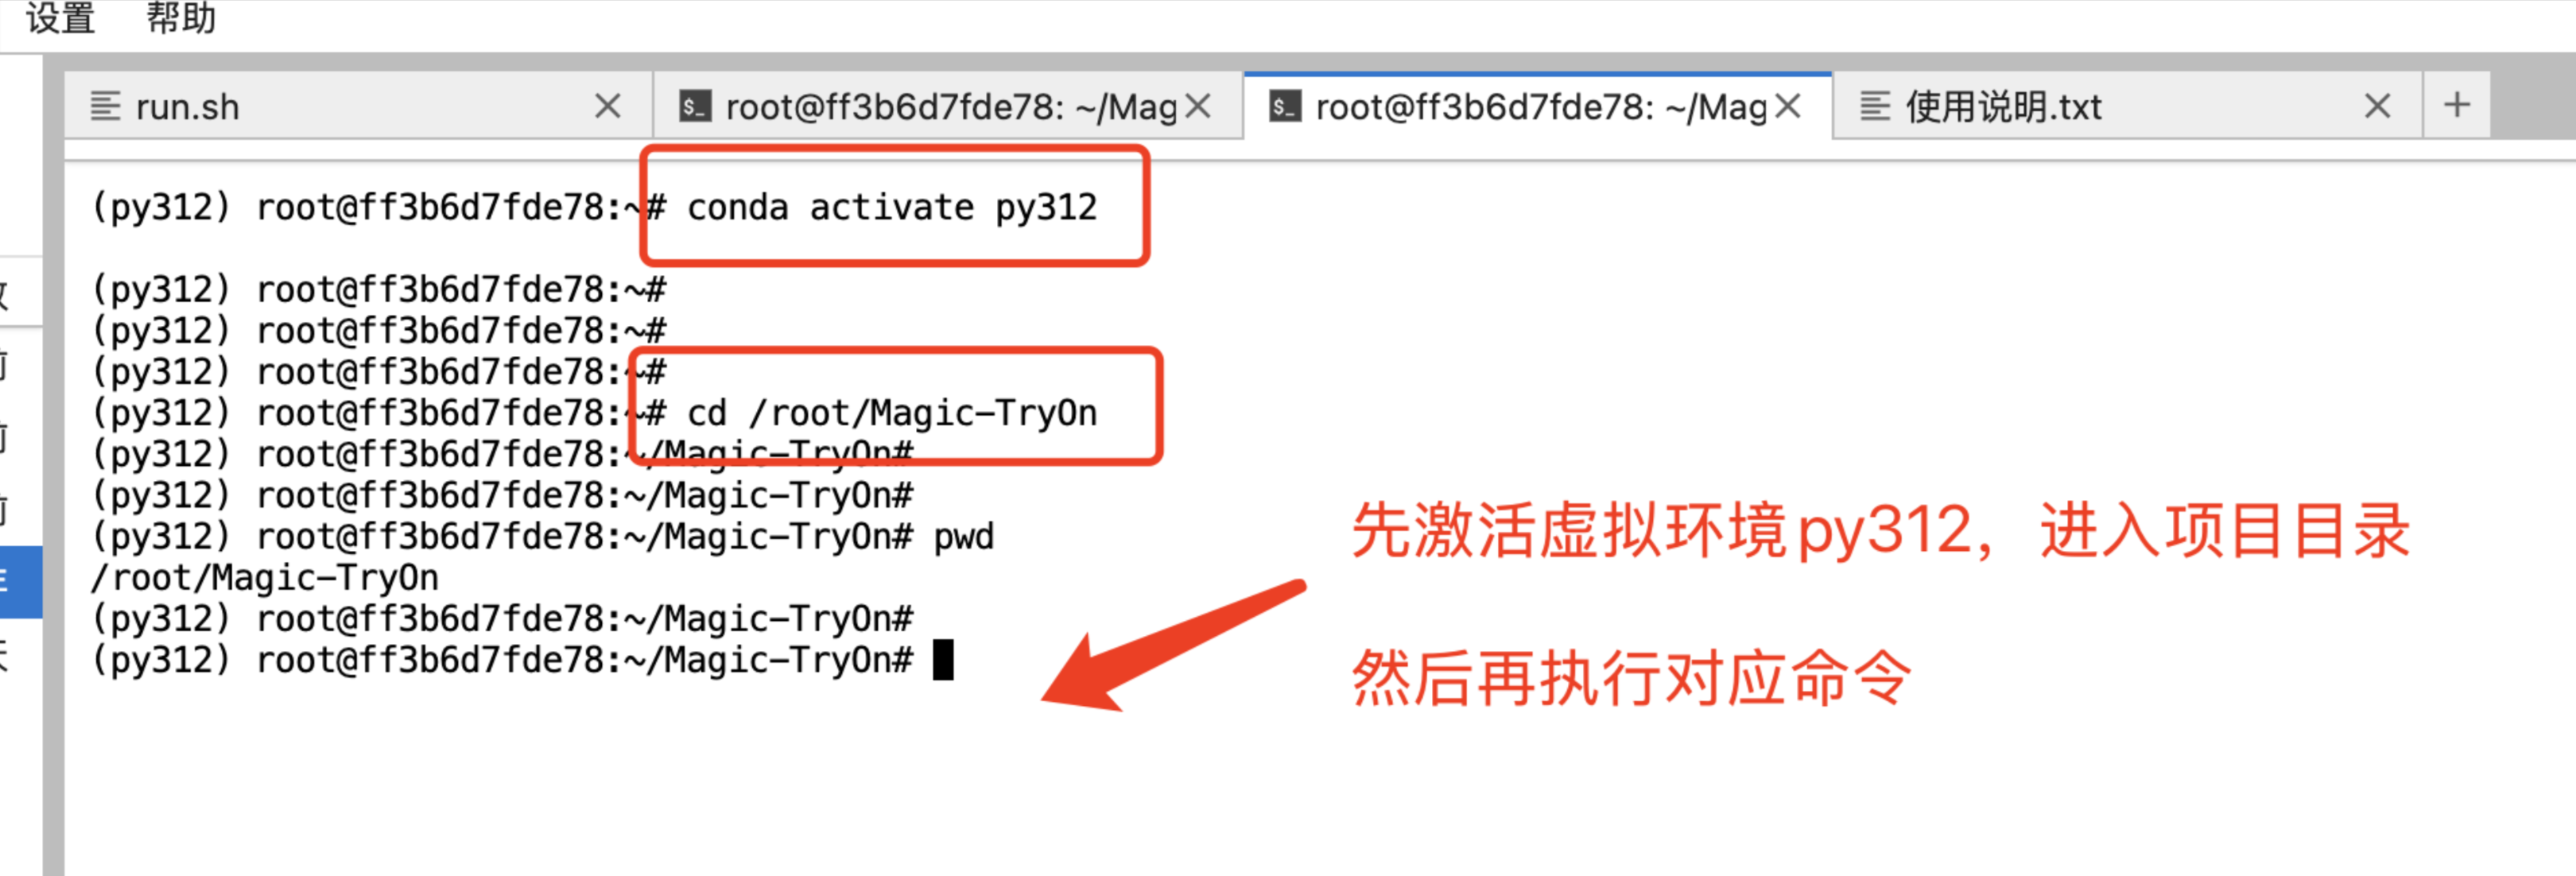
先进入项目目录:
cd /root/Magic-TryOn
激活虚拟环境py312:
conda activate py312
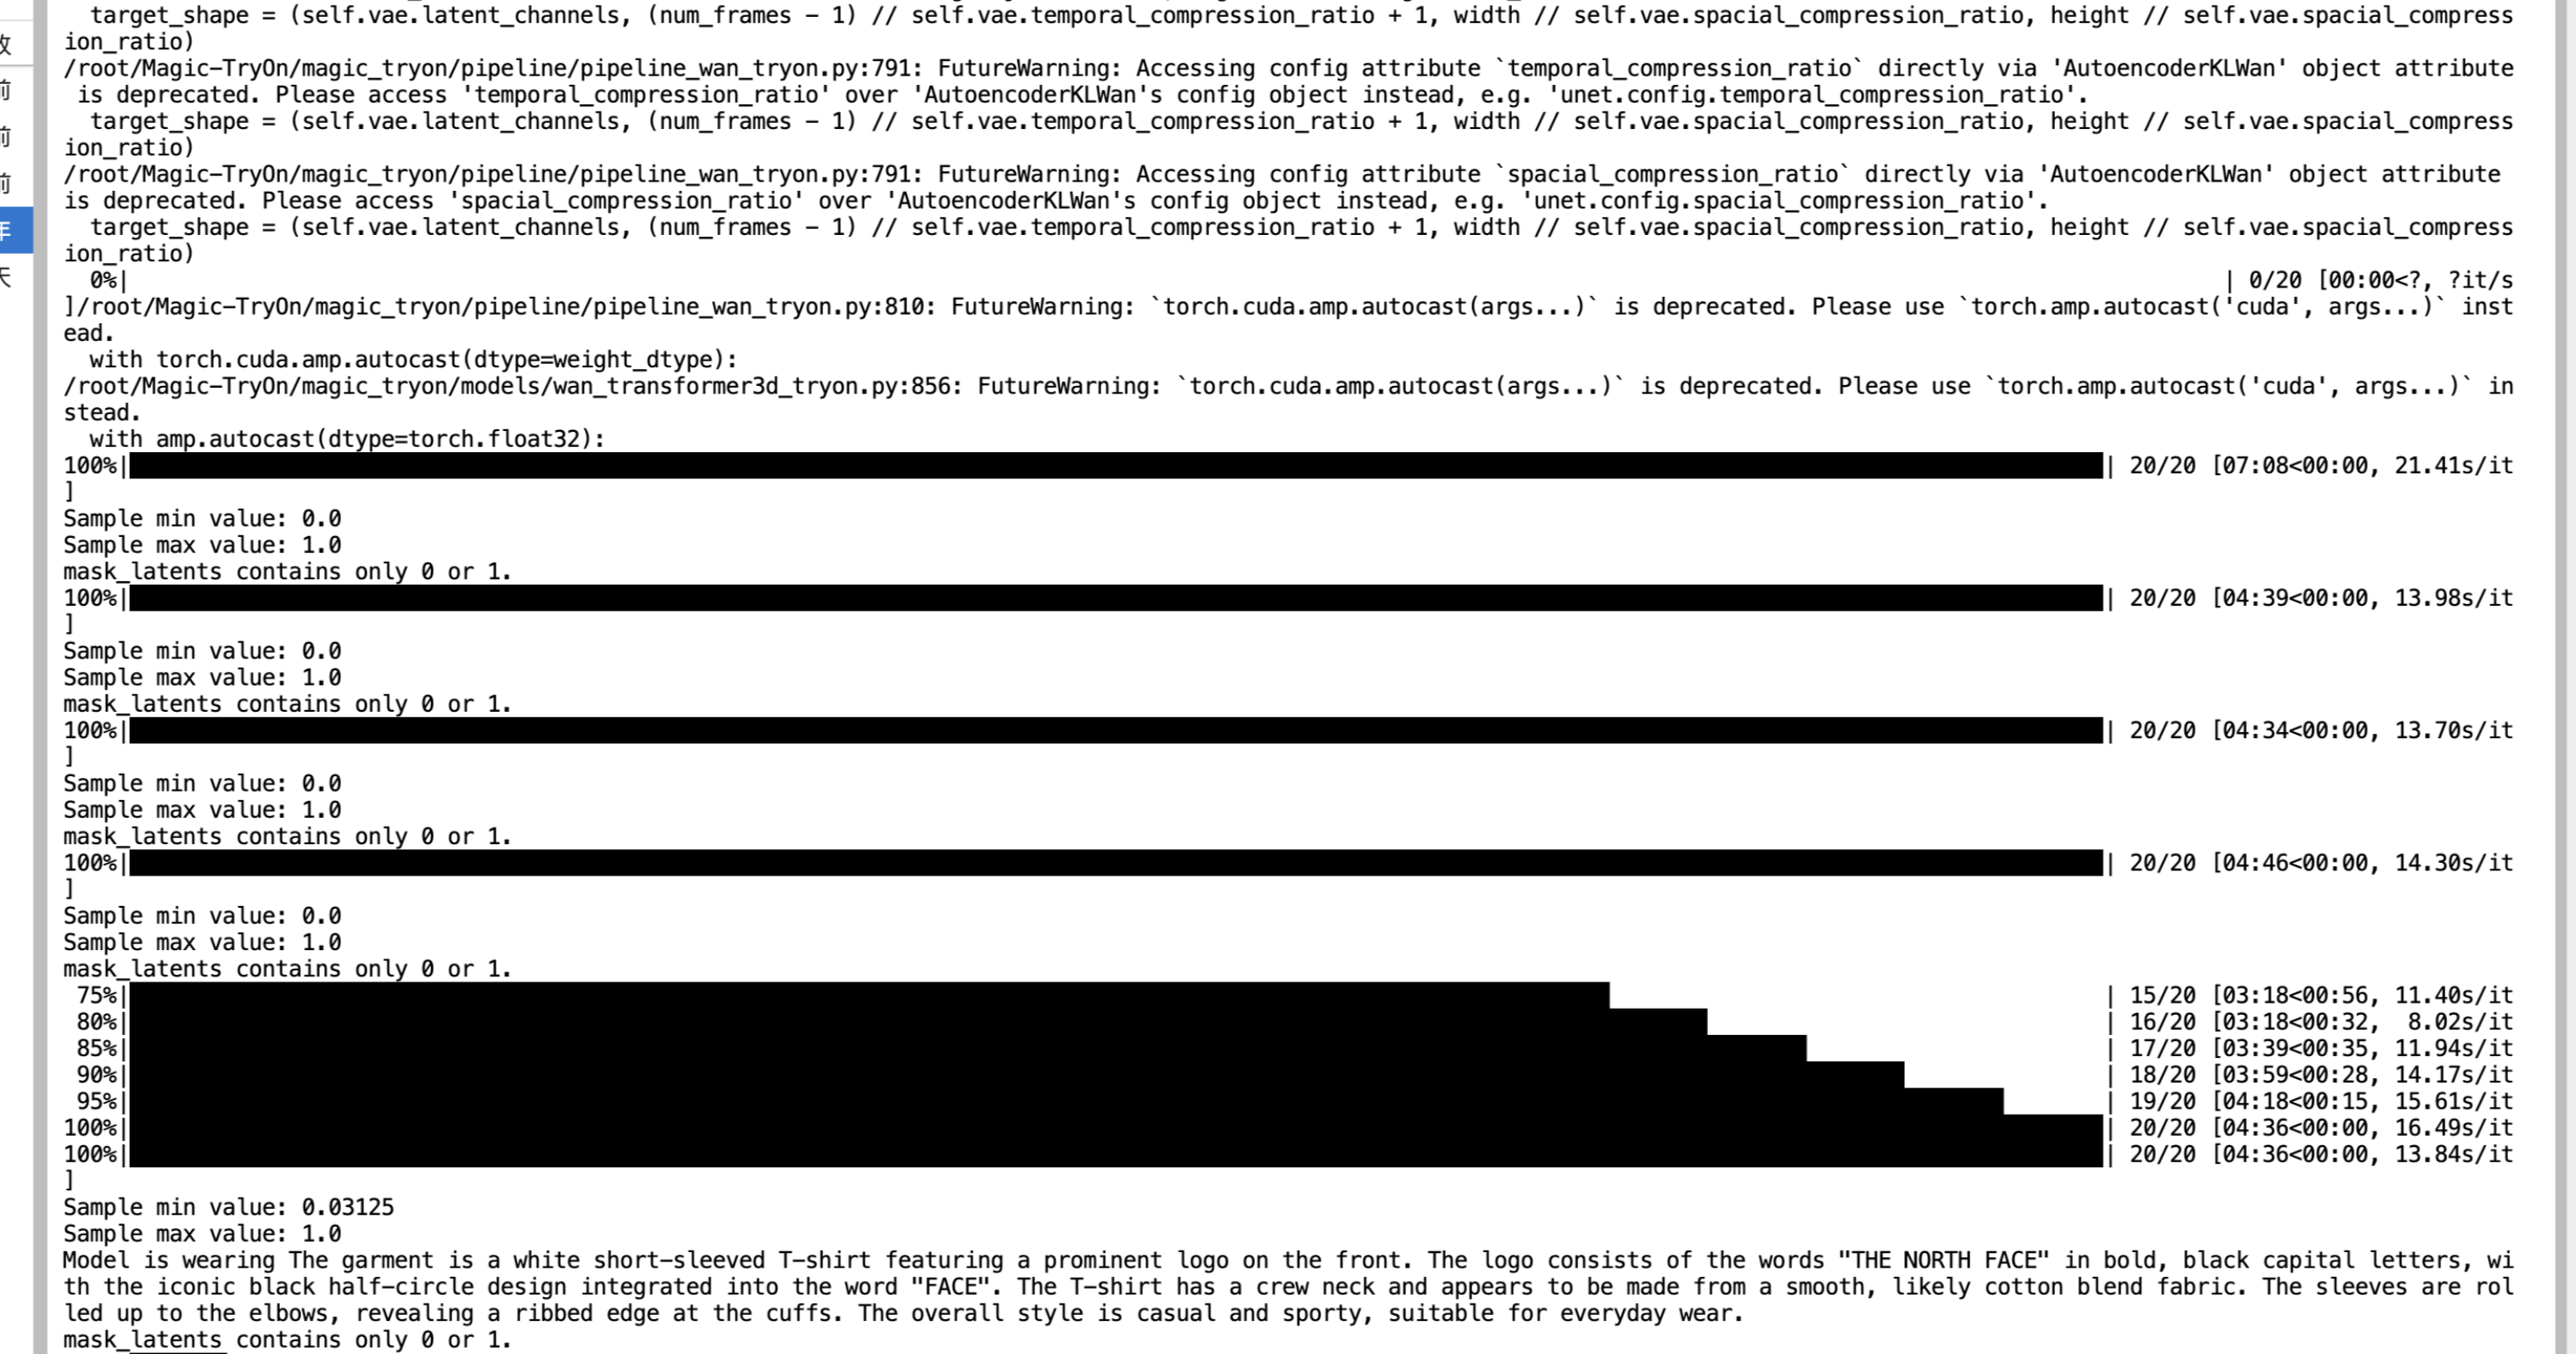
执行命令之后输出的结果在这里看到:
/root/Magic-TryOn/samples
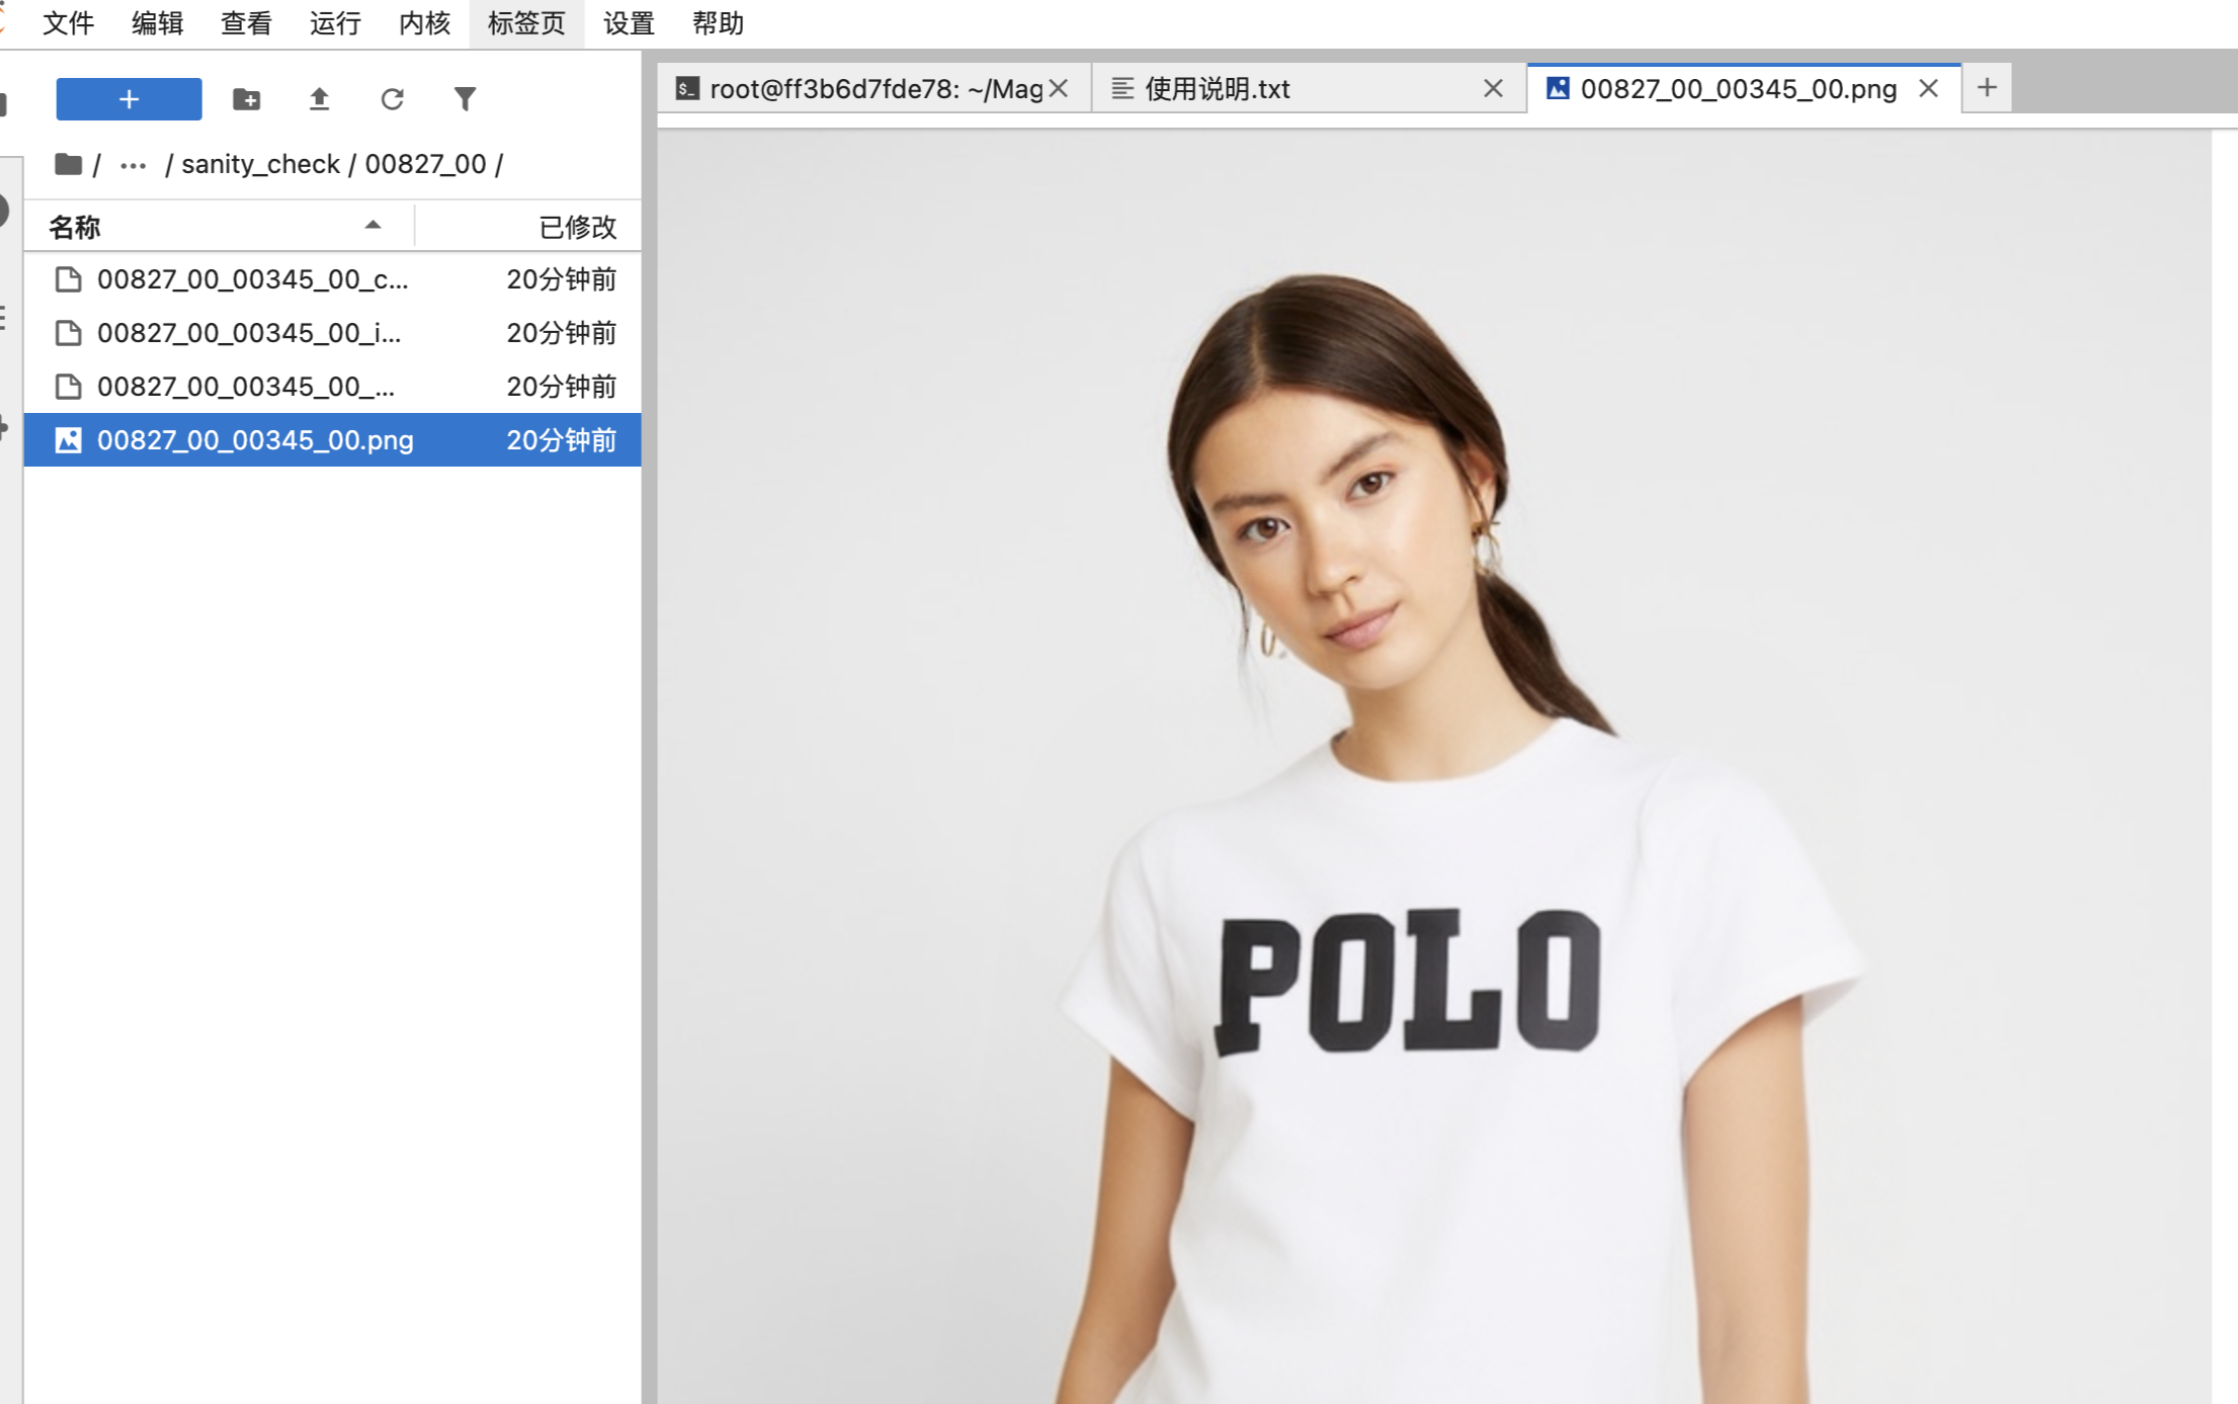
1. Image TryOn:图片试穿:
【图片】运行下面指令:分别是 换上衣,换下衣:
CUDA_VISIBLE_DEVICES=0 python inference/image_tryon/predict_image_tryon_up.py
CUDA_VISIBLE_DEVICES=1 python inference/image_tryon/predict_image_tryon_low.py
2. Video TryOn:视频试穿:
【视频】运行下面指令:分别是 换上衣,换下衣:
CUDA_VISIBLE_DEVICES=0 python inference/video_tryon/predict_video_tryon_up.py
CUDA_VISIBLE_DEVICES=1 python inference/video_tryon/predict_video_tryon_low.py
3. Customize TryOn:自定义试穿
- 1、Cloth Caption Generate a descriptive caption for the garment, which may be used for conditioning or multimodal control. We use Qwen/Qwen2.5-VL-7B-Instruct to obtain the caption. Before running, you need to specify the folder path.
python inference/customize/get_garment_caption.py
- 2、Cloth Line Map Extract the structural lines or sketch of the garment using AniLines-Anime-Lineart-Extractor. Download the pre-trained models from this link and put them in the inference/customize/AniLines/weights folder.
python inference/customize/AniLines/infer.py --dir_in datasets/garment/vivo/vivo_garment --dir_out datasets/garment/vivo/vivo_garment_anilines --mode detail --binarize -1 --fp16 True --device cuda:1
- 3、Mask Generate the agnostic mask of the garment, which is essential for region control during try-on. Please download the required checkpoint for obtaining the agnostic mask. The checkpoint needs to be placed in the inference/customize/gen_mask/ckpt folder.
- 1、 You need to rename your video to video.mp4, and then construct the folders according to the following directory structure.
│   ├── person
|   |   ├── customize
│   │   │   ├── video
│   │   │   │   ├── 00001
│   │   │   │   │   ├── video.mp4
|   |   |   |   ├── 00002 ...
│   │   │   ├── image
│   │   │   │   ├── 00001
│   │   │   │   │   │   ├── images
│   │   │   │   │   │   │   ├── 0000.png
|   |   |   |   ├── 00002 ...
- 2、Using video2image.py to convert the video into image frames and save them to datasets/person/customize/video/00001/images.
- 3、Run the following command to obtain the agnostic mask.
python inference/customize/gen_mask/app_mask.py
if extract the mask for lower_body or dresses, please modify line 65.
if lower_body:
mask, _ = get_mask_location('dc', "lower_body", model_parse, keypoints)
if dresses:
mask, _ = get_mask_location('dc', "dresses", model_parse, keypoints)
if extract the mask for lower_body or dresses, please modify line 65.
if lower_body:
mask, _ = get_mask_location('dc', "lower_body", model_parse, keypoints)
if dresses:
mask, _ = get_mask_location('dc', "dresses", model_parse, keypoints)
python inference/customize/gen_mask/app_mask.py
After completing the above steps, you will obtain the agnostic masks for all video frames in the datasets/person/customize/video/00001/masks folder.
- 4、Agnostic Representation Construct an agnostic representation of the person by removing garment-specific features. You can directly run get_masked_person.py to obtain the Agnostic Representation. Make sure to modify the --image_folder and --mask_folder parameters. The resulting video frames will be stored in datasets/person/customize/video/00001/agnostic.
- 5、DensePose Use DensePose to obtain UV-mapped dense human body coordinates for better spatial alignment.
- (1) Install detectron2.
- (2) Run the following command:
bash inference/customize/detectron2/projects/DensePose/run.sh
- (3) The generated results will be stored in the datasets/person/customize/video/00001/image-densepose folder.
After completing the above steps, run the image2video.py file to generate the required customized videos: mask.mp4, agnostic.mp4, and densepose.mp4. Then, run the following command:
CUDA_VISIBLE_DEVICES=0
官方更新源码在这里: https://github.com/vivoCameraResearch/Magic-TryOn
 认证作者
认证作者