Higgs_Audio_V2
沐神新作,不得不学
 1
10元/小时
v1.0
Higgs_Audio_V2
镜像简介
本镜像提供Higgs_Audio_V2语音合成系统,支持高质量的文本转语音功能。适用于有声内容制作、语音助手开发、教育辅助及无障碍服务等场景,为用户提供高效、稳定的本地化语音生成解决方案。
Higgs Audio V2 安装与使用教程
1. 环境准备
1.1 推荐环境
- 操作系统:Linux(推荐),支持 macOS/Windows(需适配 CUDA 驱动)
- Python:建议 3.10 及以上
- 显卡:NVIDIA GPU,显存建议 24GB 及以上
- CUDA 驱动:建议使用 NVIDIA 官方 Deep Learning 容器
1.2 使用 NVIDIA Docker 容器(推荐)
docker run --gpus all --ipc=host --net=host --ulimit memlock=-1 --ulimit stack=67108864 -it --rm nvcr.io/nvidia/pytorch:25.02-py3 bash
进入容器后再进行后续操作。
2. 安装 Higgs Audio V2
2.1 直接安装
git clone https://github.com/boson-ai/higgs-audio.git
cd higgs-audio
pip install -r requirements.txt
pip install -e .
2.2 使用 venv 虚拟环境
git clone https://github.com/boson-ai/higgs-audio.git
cd higgs-audio
python3 -m venv higgs_audio_env
source higgs_audio_env/bin/activate
pip install -r requirements.txt
pip install -e .
2.3 使用 conda 虚拟环境
git clone https://github.com/boson-ai/higgs-audio.git
cd higgs-audio
conda create -n higgs_audio_env python=3.10
conda activate higgs_audio_env
pip install -r requirements.txt
pip install -e .
2.4 使用 uv 虚拟环境
git clone https://github.com/boson-ai/higgs-audio.git
cd higgs-audio
uv venv --python 3.10
source .venv/bin/activate
uv pip install -r requirements.txt
uv pip install -e .
3. 快速推理体验
建议在具备 24GB 及以上显存的 GPU 机器上运行以下代码。
3.1 基础推理代码示例
新建 run_higgs_audio.py,内容如下:
from boson_multimodal.serve.serve_engine import HiggsAudioServeEngine, HiggsAudioResponse
from boson_multimodal.data_types import ChatMLSample, Message, AudioContent

import torch
import torchaudio

MODEL_PATH = "bosonai/higgs-audio-v2-generation-3B-base"
AUDIO_TOKENIZER_PATH = "bosonai/higgs-audio-v2-tokenizer"

system_prompt = (
    "Generate audio following instruction.\n\n<|scene_desc_start|>\nAudio is recorded from a quiet room.\n<|scene_desc_end|>"
)

messages = [
    Message(
        role="system",
        content=system_prompt,
    ),
    Message(
        role="user",
        content="The sun rises in the east and sets in the west. This simple fact has been observed by humans for thousands of years.",
    ),
]
device = "cuda" if torch.cuda.is_available() else "cpu"

serve_engine = HiggsAudioServeEngine(MODEL_PATH, AUDIO_TOKENIZER_PATH, device=device)

output: HiggsAudioResponse = serve_engine.generate(
    chat_ml_sample=ChatMLSample(messages=messages),
    max_new_tokens=1024,
    temperature=0.3,
    top_p=0.95,
    top_k=50,
    stop_strings=["<|end_of_text|>", "<|eot_id|>"],
)
torchaudio.save(f"output.wav", torch.from_numpy(output.audio)[None, :], output.sampling_rate)
print("音频已保存为 output.wav")
运行:
python run_higgs_audio.py
4. 进阶用法
4.1 零样本语音克隆
python3 examples/generation.py \
--transcript "The sun rises in the east and sets in the west. This simple fact has been observed by humans for thousands of years." \
--ref_audio belinda \
--temperature 0.3 \
--out_path generation.wav
4.2 智能单说话人生成
python3 examples/generation.py \
--transcript "The sun rises in the east and sets in the west. This simple fact has been observed by humans for thousands of years." \
--temperature 0.3 \
--out_path generation.wav
4.3 智能多说话人对话生成
python3 examples/generation.py \
--transcript examples/transcript/multi_speaker/en_argument.txt \
--seed 12345 \
--out_path generation.wav
4.4 多说话人语音克隆
python3 examples/generation.py \
--transcript examples/transcript/multi_speaker/en_argument.txt \
--ref_audio belinda,broom_salesman \
--ref_audio_in_system_message \
--chunk_method speaker \
--seed 12345 \
--out_path generation.wav
5. 高级部署:Gradio
非常好的问题!你已经有了 Higgs Audio V2 的本地推理代码(见 run_higgs_audio.py 示例)。要基于此快速实现一个 Gradio 可视化界面,只需将推理逻辑封装为函数,并用 Gradio 的 Interface 或 Blocks 进行包装即可。
下面是完整的 Gradio 示例,直接可用,并且完全复用你已有的模型加载和推理代码:
5.1 安装 Gradio
如果还没安装 Gradio,请先执行:
pip install gradio
5.2 新建 gradio_higgs_audio.py,内容如下:
import gradio as gr
from boson_multimodal.serve.serve_engine import HiggsAudioServeEngine, HiggsAudioResponse
from boson_multimodal.data_types import ChatMLSample, Message, AudioContent
import torch
import torchaudio
import numpy as np
import tempfile
import os
# 模型加载(只加载一次,避免重复初始化)
MODEL_PATH = "bosonai/higgs-audio-v2-generation-3B-base"
AUDIO_TOKENIZER_PATH = "bosonai/higgs-audio-v2-tokenizer"
device = "cuda" if torch.cuda.is_available() else "cpu"
serve_engine = HiggsAudioServeEngine(MODEL_PATH, AUDIO_TOKENIZER_PATH, device=device)
def generate_audio(text, system_prompt="Generate audio following instruction.\n\n<|scene_desc_start|>\nAudio is recorded from a quiet room.\n<|scene_desc_end|>"):
messages = [
Message(role="system", content=system_prompt),
Message(role="user", content=text),
]
output: HiggsAudioResponse = serve_engine.generate(
chat_ml_sample=ChatMLSample(messages=messages),
max_new_tokens=1024,
temperature=0.3,
top_p=0.95,
top_k=50,
stop_strings=["<|end_of_text|>", "<|eot_id|>"],
)
# 保存为临时 wav 文件
with tempfile.NamedTemporaryFile(suffix=".wav", delete=False) as tmpfile:
torchaudio.save(tmpfile.name, torch.from_numpy(output.audio)[None, :], output.sampling_rate)
tmpfile_path = tmpfile.name
# 返回音频文件路径
return tmpfile_path
with gr.Blocks() as demo:
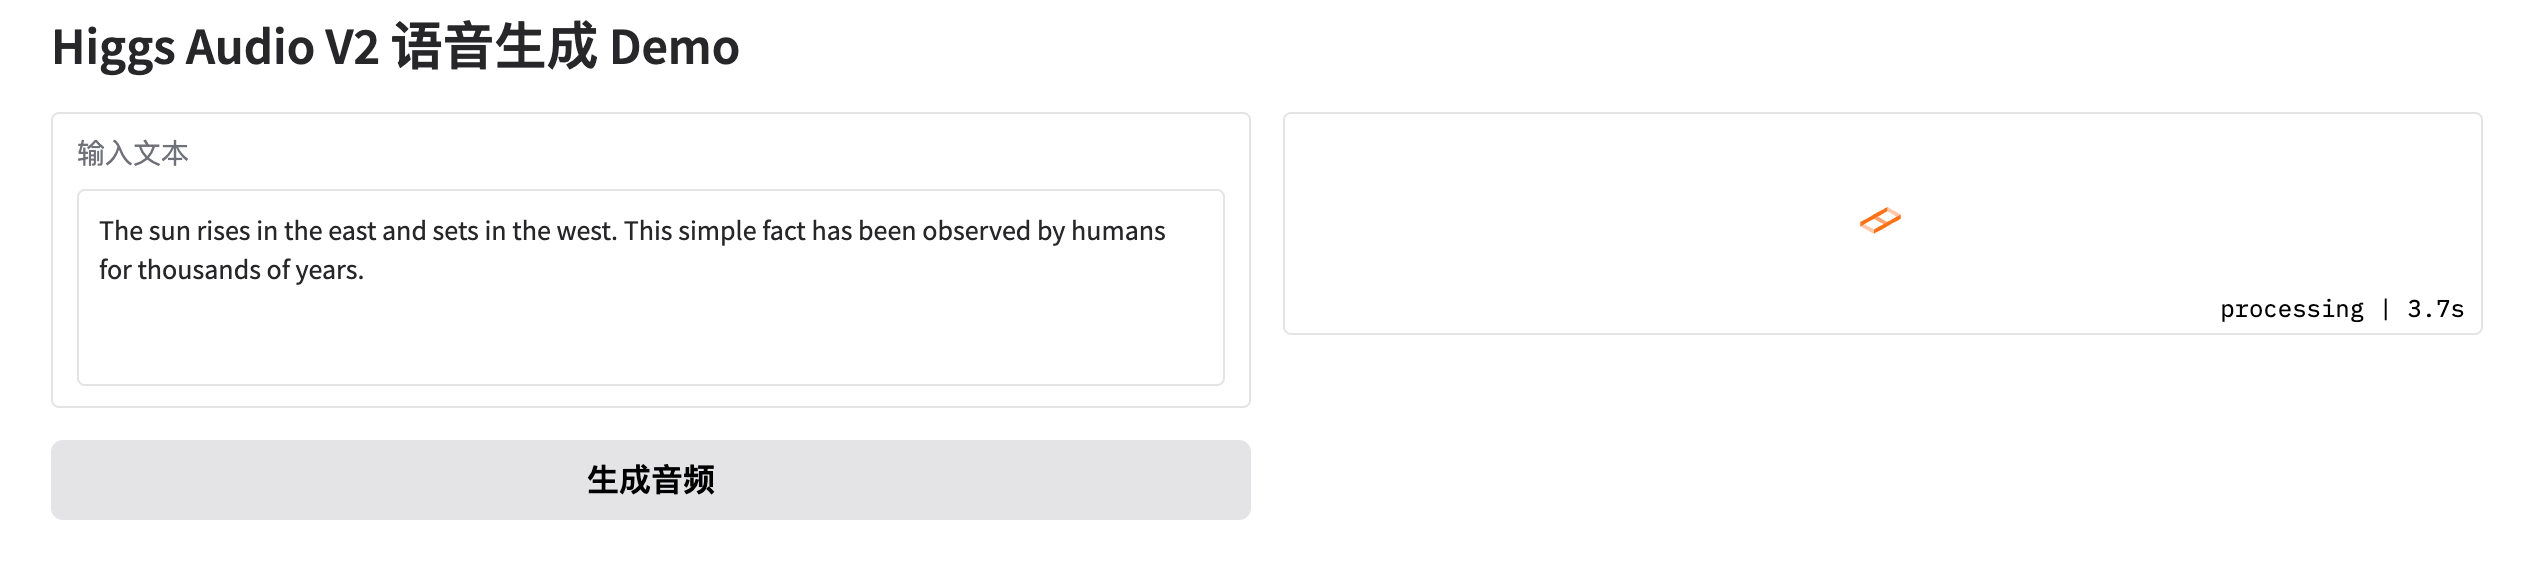
gr.Markdown("# Higgs Audio V2 语音生成 Demo")
with gr.Row():
with gr.Column():
text_input = gr.Textbox(label="输入文本", lines=4, value="The sun rises in the east and sets in the west. This simple fact has been observed by humans for thousands of years.")
submit_btn = gr.Button("生成音频")
with gr.Column():
audio_output = gr.Audio(label="生成音频", type="filepath")
submit_btn.click(fn=generate_audio, inputs=text_input, outputs=audio_output)
if __name__ == "__main__":
demo.launch(server_name="0.0.0.0", server_port=7860, share=True)
5.3 运行 Gradio 界面
python gradio_higgs_audio.py
浏览器会自动打开本地页面,输入文本,点击“生成音频”,即可试听生成结果。
@敢敢のwings 认证作者
认证作者
认证作者
镜像信息
已使用8 次
运行时长
23 H
 支持自启动
支持自启动镜像大小
70GB
最后更新时间
2026-02-03
支持卡型
RTX40系20803080Ti309048G RTX40系2080TiH20A800P40A100RTX50系V100S
+12
框架版本
CUDA版本
12.1
应用
JupyterLab: 8888
自定义开放端口
7860
+1
版本
v1.0
2026-02-03