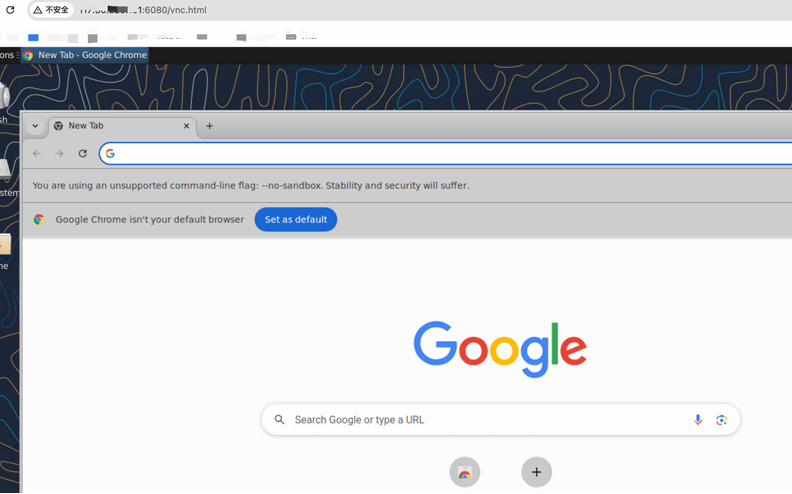
通过VNC搭建Ubuntu图形界面
实例准备
-
在优云智算平台进行实例创建
-
使用 ssh 或者控制台提供的 JupyterLab \ 登录 功能连接实例(下面安装实例使用 JupyterLab ⻚面配置为例)
软件安装
更新本地软件包
apt update 安装远程图形界面&轻量化桌面
安装较为耗时,预计5-10min)
apt  install -y dbus-x11 xorg openbox xfce4 xfce4-goodies tightvncserver
语言选择
在安装中,需要选择对应语言
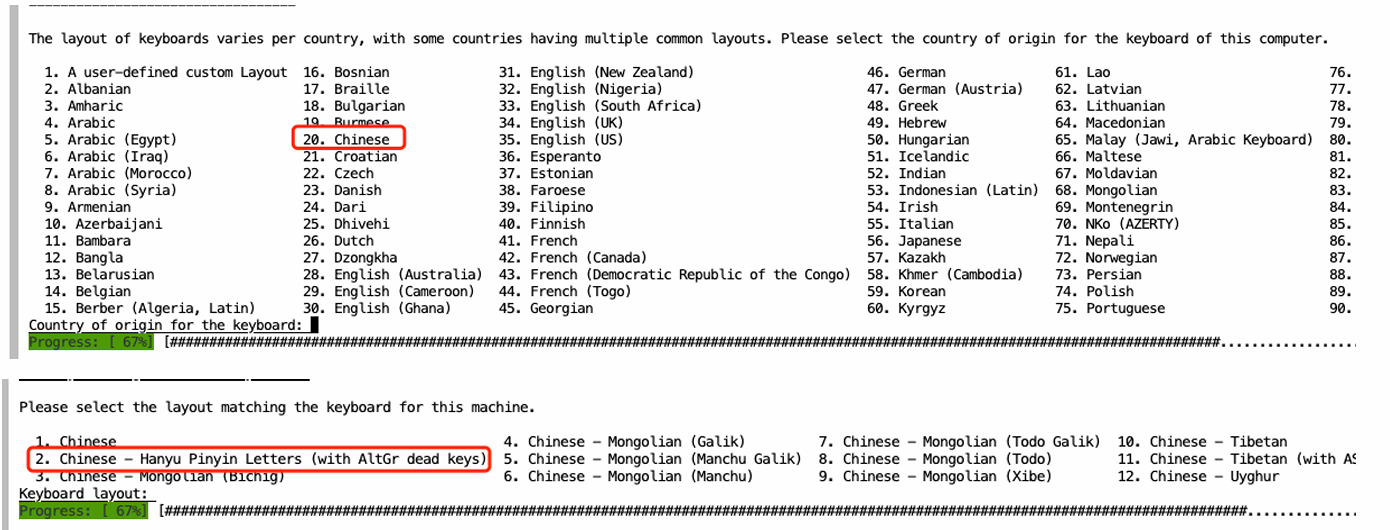
依赖项配置
环境变量
NOTE
后续容器会默认添加-e USER=root设置,此步骤可忽略
export USER=rootdbus-launch启动
NOTE 在 软件安装 中dbus-x11是启动dbus-launch依赖包,若出现启动失败,可重新
apt install dbus-x11进 行安装
dbus-launchVNC配置
密码设置
NOTE
- 密码为6-8位
- 只读模式设置为 n
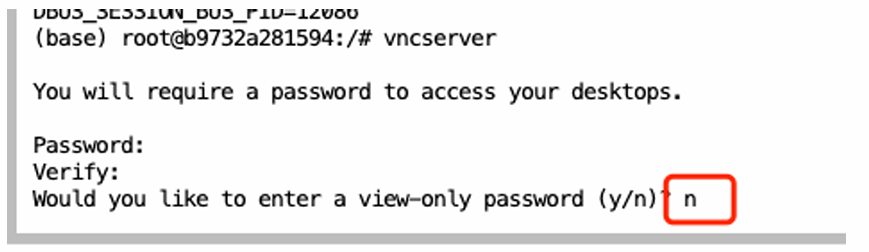
1. 运行 vncserver
2. 密码设置,使⽤6-8位作为密码,超过会被⾃动截取
3. 密码确认,输⼊和设置的同⼀个密码即可
4.在最后进⾏view-only选择时,需要选择【n】并输⼊回⻋
修改启动文件
启动文件备份
cp ~/.vnc/xstartup ~/.vnc/xstartup.bak 修改文件内容
echo "startxfce4 &" >> ~/.vnc/xstartup
chmod +x ~/.vnc/xstartup
VNC重启
# 1.关闭在密码设置中启动的VNC进程
vncserver -kill :1
# 2.重新启动vncserver
vncserver -geometry 1920x1080
# xauth: (argv):1:  bad display name "b9732a281594:1" in "add" command
# New 'X' desktop is b9732a281594:1
# Starting applications specified in /root/.vnc/xstartup
# Log file is /root/.vnc/b9732a281594:1.log
VNC端口占用说明
-
默认使用端口为 5900+启动编号 ,例如:在执行启动命令
vncserver -geometry 1920x1080后,在log中提示New 'X' desktop is b9732a281594:1则表示,此进程在 启动编号:1 下执行,则此时占用端口号为5901。若后续需要使用 VncViewer 工具进行连接,防火墙必须打开5901端口号。 -
也可通过命令进行检查端口
(base) root@b9732a281594:/# ss -tuln | grep 590
tcp    LISTEN 0   5      0.0.0.0:5901      0.0.0.0:*
VncViewer连接
IMPORTANT 容器内VncServer服务对应防⽕墙端⼝必须打开
官网工具下载
https://www.realvnc.com/en/connect/download/viewer/
桌面连接
- File -> New connection
- 创建连接配置如下
VncServer: EIP(外网访问地址):VncServer服务端口号
Name:自定义名称
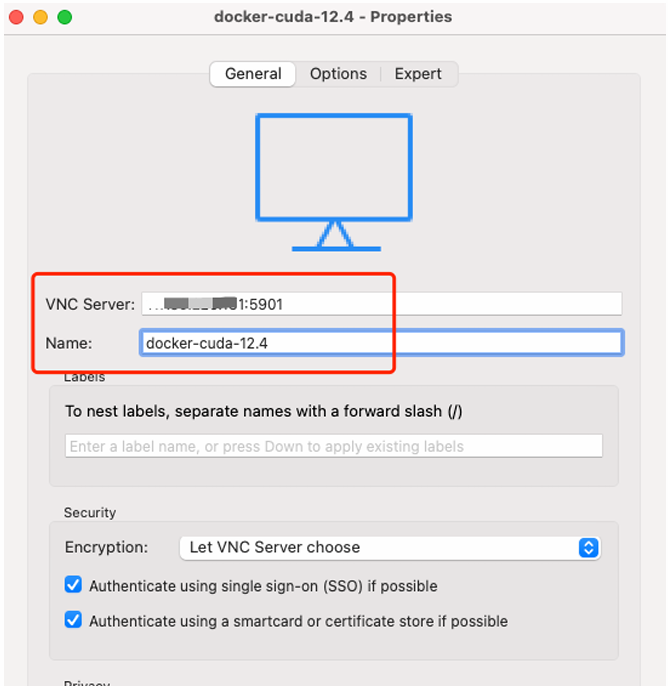
- 双击选择刚刚创建的connection
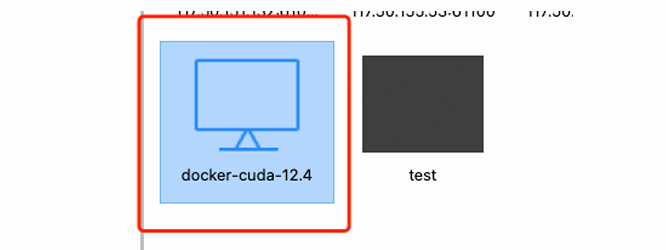
- 输入在vncserver密码初始化时填入的密码
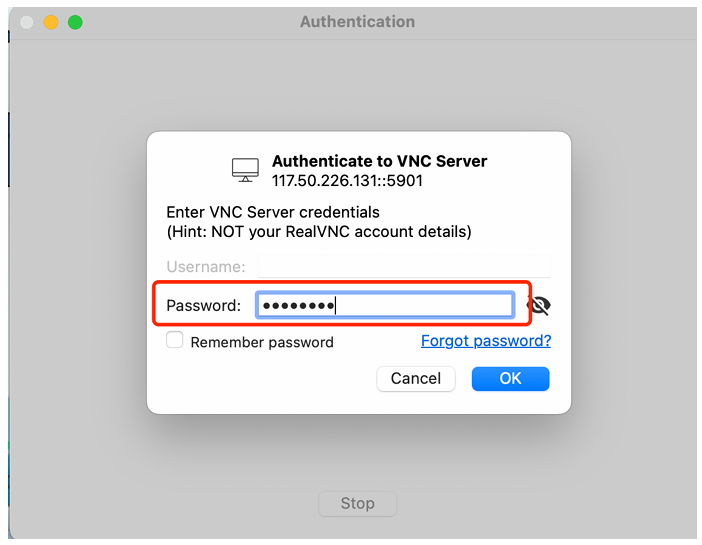
- 登录成功
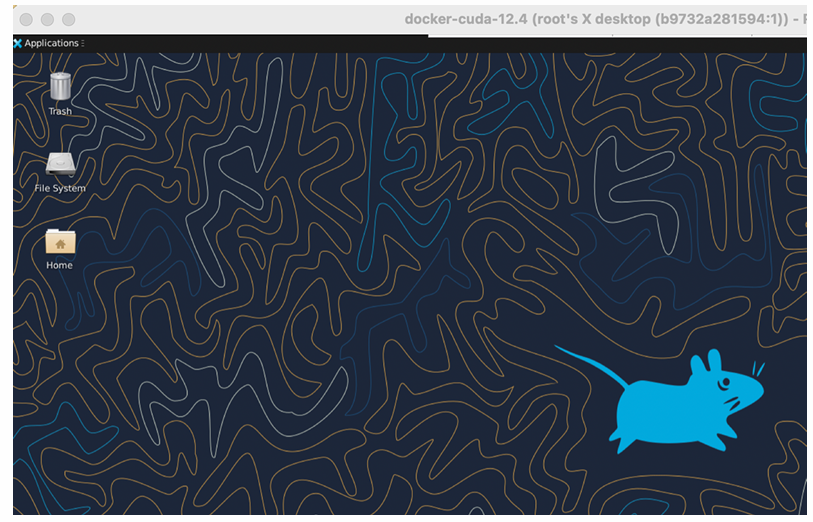
Chrome浏览器配置
浏览器打开报错
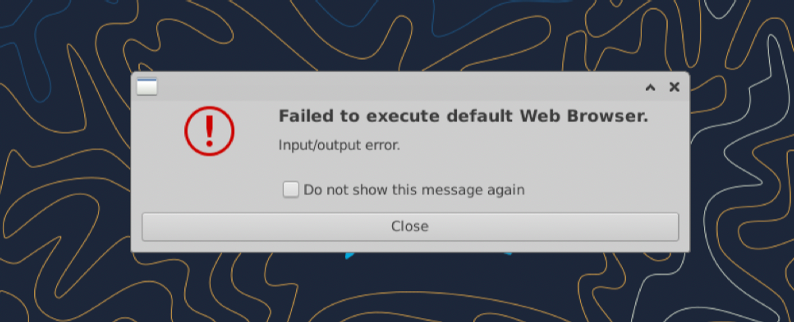
谷歌浏览器安装
wget https://dl.google.com/linux/direct/google-chrome-stable_current_amd64.deb
apt install -y ./google-chrome-stable_current_amd64.deb
VNC桌面进行浏览器替换
WARNING
此步骤须桌面的 Terminal 中进行操作,具体步骤如下
- 执行
xfce4-settings-manager会出现如下弹窗选择
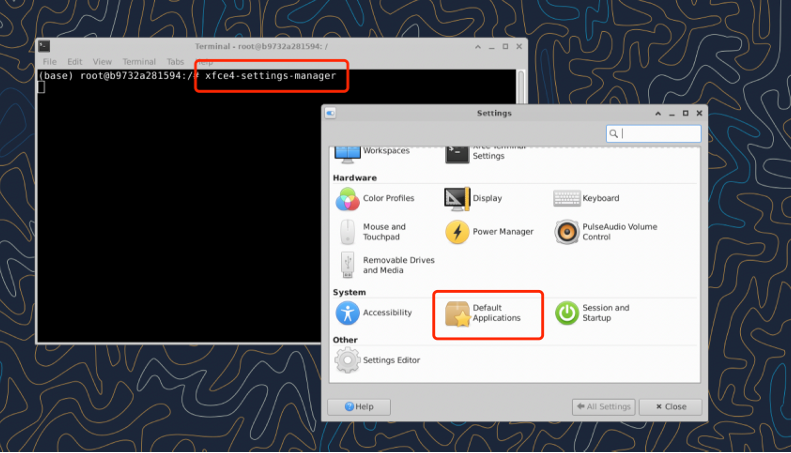
-
选择
Default Applications -
在
Web Browser中选择Other选项
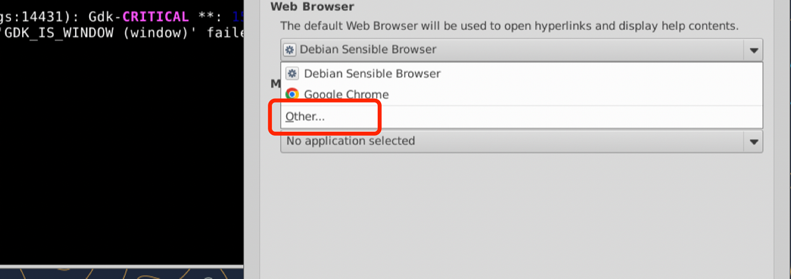
-
输入:
/usr/bin/google-chrome --no-sandbox保存即可 -
打开默认浏览器即可
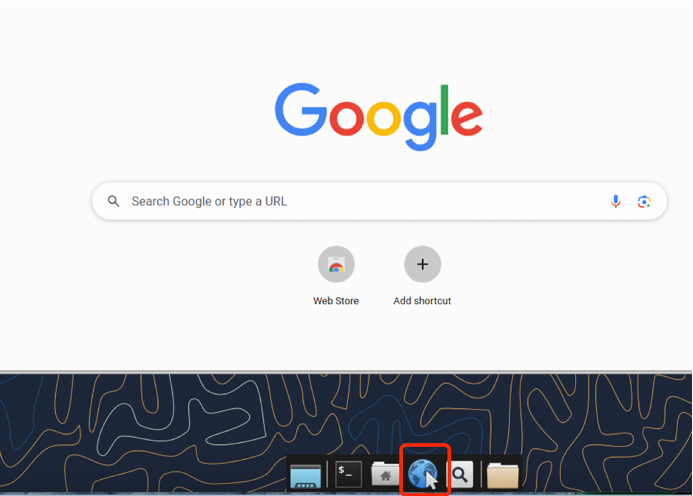
使用Web浏览器连接远程桌面
TIP 针对于不想安装VncViewer用户,可以选择使用Web浏览器直接访问远程桌面
noVNC下载
在一个你需要的路径下进行项目下载
# noVnc下载
git clone https://github.com/novnc/noVNC.git /usr/lib/noVNC
chmod +x /usr/lib/noVNC/utils/*
noVNC启动
# 启动代理服务,并后台运⾏
/usr/lib/noVNC/utils/novnc_proxy --vnc localhost:5901 &

# 打印⽇志如下,端⼝号默认监听:6080
Using installed websockify at /root/miniconda3/bin/websockify
Starting webserver and WebSockets proxy on port 6080
WebSocket server settings:
- Listen on :6080
- Web server. Web root: /usr/lib/noVNC
- No SSL/TLS support (no cert file)
- proxying from :6080 to localhost:5901

Navigate to this URL:
   http://b9732a281594:6080/vnc.html?host=b9732a281594&port=6080
Press Ctrl-C to exit
web⻚面连接使用
NOTE
必须保证对应的 6080 端口防火墙打开!!!
-
浏览器访问
http://${外网EIP地址}:6080/vnc.html -
点击⻚面
连接按钮 -
输入vncserver设置的密码